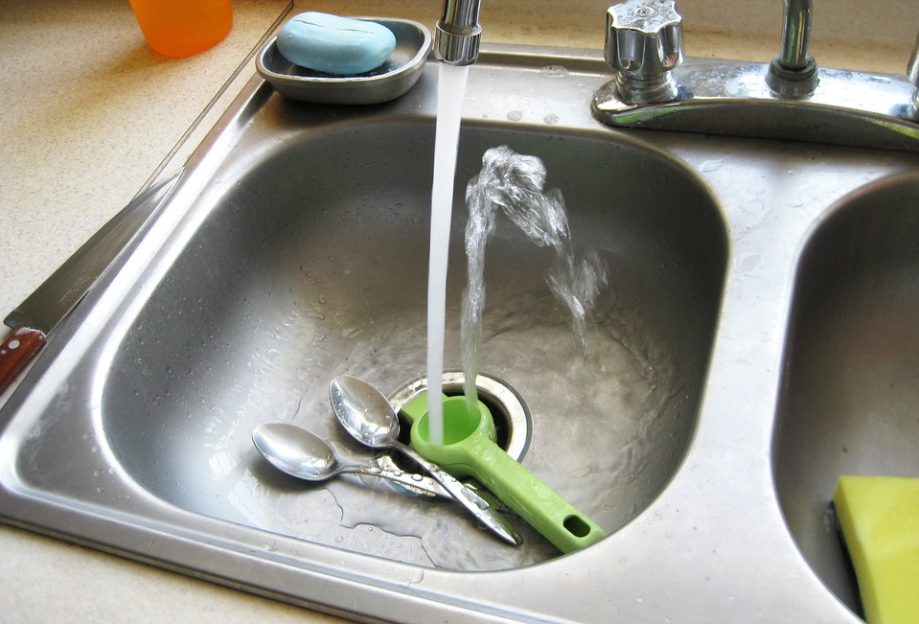
One of the more annoying aspects of a kitchen sink is those small particles of food can pass easily, but larger pieces could clog the garbage disposal unit. The natural reaction to this problem is to reach for a chemical drain cleaner, but this is not recommended. These products contain caustic chemicals that can burn your exposed skin and the surfaces of your plumbing pipes. As an alternative, we have seven simple DIY unclogging tips that could get your garbage disposal unit running efficiently.
1. Make the Garbage Disposal Safe
Safety should always be a priority when any type of DIY repair is attempted and this is especially true when it comes to a garbage disposal. The blades in these units can cause a lot of damage to fingers or other objects placed in and around them. This can cause harm and you may even damage the garbage disposal. Turn off the power to the unit and unplug it under the sink or switch off the fuse as an extra precaution.
2. Locate the Cause of the Clog
Take a flashlight and look in the drain to find the cause of the blockage and if there are food particles it may be possible to flush them away with cold water. If the item is a ring or other piece of jewelry, it may be a better idea to contact your local professional plumber. They have specialized tools that can retrieve the item without pushing it further into the drain where it will be harder to retrieve.
3. Attempt a Manual Removal
It may be possible to loosen the clogged material manually by turning the blades slowly. Don’t touch the blades with your hands, use an Allen key to turn the blades and this may help you to see the source of the clog. If you can see the clogged particles, you can attempt a manual removal with pliers or long handled tongs. There may be chunks of hard decayed food, fruit and veggie peels, and pieces of fat. These materials are probably coated with bacteria and they should only be touched with tools. If you do notice something unusual, it may be possible to pry it free before it goes in the drain.
4. Restore Power and Run the Unit
After the looser materials have been pried out of the blades, it’s a good idea to restore power and check if the unit is working as intended. If you can hear a humming noise, this means that the blades are not moving and the garbage disposal is still clogged. Run the water for a few minutes and this may wash off any sticky residue that’s preventing normal operation. If this doesn’t work, shut off the power again and get a cup plunger to remove the clog.
5. Plunging the Garbage Disposal Unit
Fill the sink with a few inches of water, place the cup of the plunger over the drain and plunge it up and down. The action of the plunger will change the pressure in the drain line and this may shake a clog loose. Run the water and check the drain from time to time to see if the drain is running normally. This process can be repeated multiple times, but don’t be too vigorous or you may cause damage. If the clog has been removed, wait at least 10 minutes before you restore power and run the garbage disposal. If the unit is working as intended, unclamp the drain line and you can use the unit normally.
6. Check the S-trap
If none of the methods detailed above has worked, the cause could be grease and sticky sludge that’s caught in the S-trap. This material will prevent efficient draining and the S-trap must be removed and cleaned. Disengage the “S” or “P” shaped pipe that attaches the garbage disposal unit to the drain. These pipes are usually located behind the wall cabinet and you need a bucket on hand to catch any wastewater. Drain the water in the sink before you remove these pipes to prevent or minimize spillage. The waste pipe is connected to the disposal arm and you need to loosen the nuts to take the pipes apart. The S-trap or P-trap is now free and you can check inside.
7. Cleaning the S-trap
If the S-trap is filled with coffee grounds, grease, pellets of cereal, and other debris this must be removed. There may be a cleanout plug that you can pull to remove this debris without removing the drain line. If you need to detach the trap, place a container under the area to catch the debris and use a hanger or some wire to pull stubborn debris. Catch the dirty water with a bucket under the S-trap as you rinse it clean with warm water. Reassemble the cleared and cleaned pipes carefully to avoid damaging the plastic components.
Keeping the Garbage Disposal in Good Condition
Many potential clogging problems can be avoided with some simple precautions that everyone in the home should follow. Avoid placing certain items, such as grease, oils, coffee grounds, bones, plastic, and eggshells in the drain. These items can damage the blades and cause clogging problems.
Squeezing some lemon juice into the disposal can cleanse the inner surface naturally and remove any lingering odors. A cold water flush every week can remove any lingering food particles that may form clogs. It’s also important to run the cold water tap for at least 30 seconds after using the unit. This will flush the waste away and help to keep the blades running efficiently.
Finally, you can wash the garbage disposal with baking soda to melt any grease that may have accumulated. Pour a ½ cup of baking soda into the garbage disposal followed by a ¼ cup of white vinegar. A chemical reaction will take place, the foam is cleaning the drain and it should be left to work until it stops fizzing. Then you can run the garbage disposal normally to check if it’s draining correctly and it should smell clean and fresh.
If you have a problem with your garbage disposal, contact your local professional plumber for expert help and advice today.
