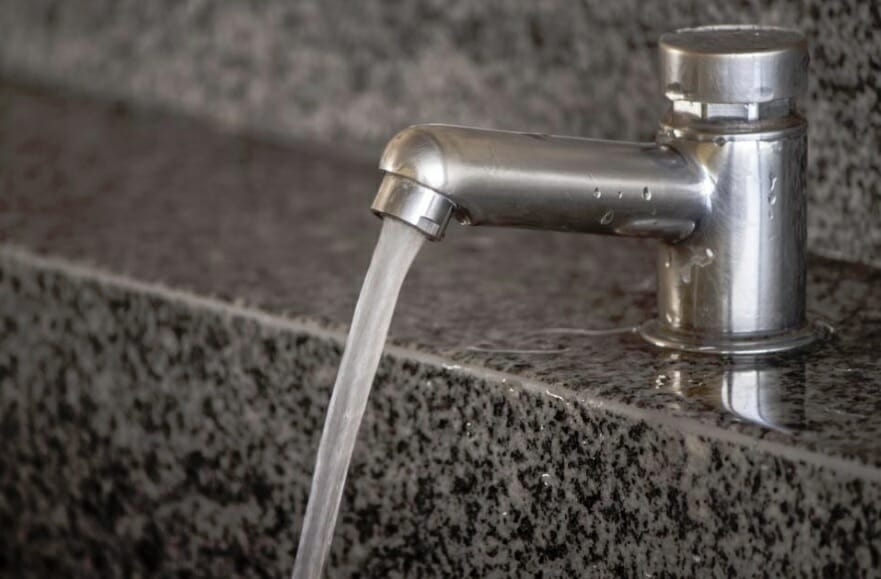
If you have a leaky faucet in your sink, it can quickly become an annoying nuisance. The dripping sound could drive you to distraction, but this type of leak could also cause a great deal of structural damage. A leaking faucet will also waste a lot of water, this is environmentally unsound, and it will drive up your next water bill. For these reasons, it’s a good idea to get the faucet fixed quickly, and you can tackle this task. In this article, we will set out five simple steps that you can follow to fix your leaky faucet.
- Gather Tools and Parts
There are five items that you will need to take apart, fix and then put back together your leaking faucet; they are a screwdriver, a wrench, some replacement washers, a replacement O-Ring and some tape to wrap on the wrench jaws. Any type of tape will do, and this is necessary to protect the shiny faucet finish from scratches.
- Make Sure Your Water Supply is Turned Off
This is really important; it may seem obvious, but many people forget this simple step. The water has to be turned off before any plumbing work is carried out. If you forget, the floor, ceiling and yourself may be covered in water until you can rush to turn the mains water supply off. Locate the handles that are above the sink and close them and for good measure turn off the knobs under the sink you’re working on too. This will ensure that there is no water being supplied from the main line.
- Remove the Handles
Some faucet handles have decorative knobs installed, and these should be removed with a screwdriver. Take your time and unscrew the knobs carefully so that they are not scratched and damaged. Then you can remove the faucet handle and lift it clear of the stem. Take the wrench (don’t forget the tape on the jaws) and loosen up the packing unit below. Eventually, you will be able to see the stem and carefully remove it. There are different faucet designs, some stems need twisting, and others simply come off.
- Examine the O-Ring
If you look closely, you will notice the O-Ring and washer that are located in the valve seat. A faulty O-Ring is usually the cause of a leaking faucet so take off the washer and put in the replacement. If you don’t know the size of O-Ring that you need, take a break and bring it to a hardware store and they will match the size for you. Some people have a pack of O-Rings that contains different sizes on hand for these types of situations. Once you have the correct O-Ring simply fit it in the valve seat and you’re ready to reassemble to the faucet.
- Reassemble the Faucet
Reassemble to faucet parts in the following order: washer, O-Ring, stem, packing nut, the screws and finally the handle parts. Once the faucet is back together, turn the water back on and slowly turn the handle to see if the water is running. Then turn it off again to check if you’ve fixed the leak.
If these steps don’t work, repeat the procedure to check if you followed every step. If you still have a problem, contact a
local plumbing professional for expert help.
By Giovanni Longo President Flood Brothers Plumbing
Giovanni Longo is a 3rd generation master plumber who has been practicing his craft and trade in the greater Los Angeles area for well over a decade and a half. A plumbing and hydraulics-engineering innovator, Giovanni’s particular world-class expertise focuses on dealing with challenging sewer system designs as well as resolving complex commercial and residential draining issues. As a certified Flood Mitigation expert, he is also well versed in a wide variety of water damage and remediation solution.


