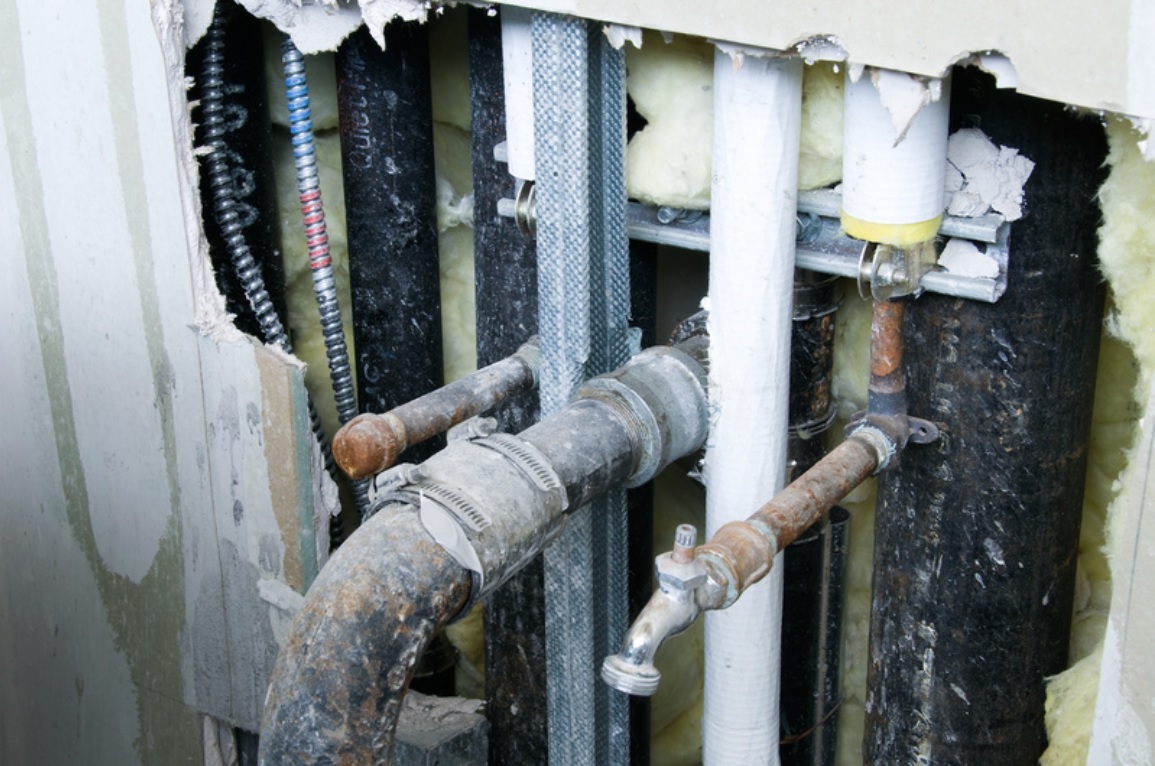
Some people may be reading this article as they are standing in a puddle of water caused by a burst pipe. The source of the burst could be located in a number of places, including a broken water pipe, a leaking water heater, a clogged sewer line backup, heavy rainfall, and others. This is very common in homes that have little to no regular plumbing maintenance because the pipes degrade with age, and clogs can form in drain lines. It’s also a huge problem in winter when poorly insulated water carrying pipes freeze and then crack open as the water thaws inside. In this article, we will help you to deal with this situation, follow these ten steps in order and the water damage will be limited.
Step 1: Swift and Decisive Action
If the emergency has already occurred, the last thing that you should be doing is searching for phone numbers and reading articles. It’s important to adopt a proactive approach and to learn this information in advance. This will allow you to act swiftly and decisively when a pipe bursts which will mitigate the potential for water damage.
Step 2: Disconnect Electrical Connections
The risk of electrocution during localized flooding is very real, and the consequences can be fatal. All the electrical systems in your home must be turned off, and you should never venture into standing water if the power is still turned on. If you cannot reach the breaker box, go to the main electrical shut-off outside your home. If you are in any doubt about the safety implications, contact an electrical engineer for expert help.
Step 3: Stop the Water
If the source of the water is an act of nature, this is not possible, but you may be able to limit the intrusion of water with sandbags and water baling. If the cause is a burst pipe or damaged valve, it’s easy to locate the main water shut-off valve and close it. This may be located where the water line enters the home, or it could be near the water meter out near the street.
Step 4: Salvage Operations
Now it’s time to save precious items from the water that cannot be replaced. This could include family photographs, important documents, and other items that can be salvaged from the water. Move them to an area that has not been affected by the water to keep them safe.
Step 5: Contact the Insurance Company
It’s likely that the water damage will be covered under the homeowner’s insurance policy that you hold. To begin the claim process, contact the insurance company and tell them what happened. Ask if a claims adjuster needs to visit your home to assess the damage before you clean up and begin repairs. In many cases, photos will be sufficient to complete your insurance claim.
Step 6: Document the Entire Process
It’s essential to document the entire process with photos, videos, and paperwork. This gives you some evidence if the insurance company decides to challenge your claim. Every item that the water has touched should be photographed, and the structure of the home should be examined and documented.
Step 7: Standing Water
Now it’s time to remove the standing water before it can cause more damage. If the water is in the basement and there is a floor drain, it should be possible to push the water into the drain with a long-handled squeegee or mop. On upper floors, mopping should suffice, and this should be followed with a wet-dry vac if you have one. Hard to reach areas can be dried with old towels to remove the surface water.
Step 8: Contact a Local Water Damage Restoration Company
Many homeowners contact a water damage restoration company at this point to help them clean up the mess. The company should be on site within a few hours to prevent further water damage and mold growth in your home. During the call to your insurance company, they may recommend an approved contractor that you may want to use.
Step 9: Drying Out Your Home
You can start the drying process before the contractor arrives, or if you’ve chosen to go it alone, it’s important to get started quickly. To start, open every window in the home to remove the moist air that’s trapped in the home. Then, set up as many dehumidifiers as you can to remove as much moisture as you can quickly. Switch the HVAC system to heating, and set it between 60º and 80º to pull even more moisture out of the air. Consider hiring industrial-size dehumidifiers and blowers to really speed up the drying process.
Step 10: Prevent Mold Growth
When it comes to potential damage dealing with the water is only half of the battle. There could be far reaching and hidden effects of water damage that you may not notice for a long time. One of the most serious threats is toxic mold and mildew growth that can lower the indoor air quality (IAQ) in the home. Breathing mold spores can trigger allergic reactions and exacerbate breathing problems for people with respiratory diseases. Mold growth can also cause structural damage that could be more expensive to fix than the initial water damage. The affected areas must be dried quickly, and if the surface cannot be dried, it should be removed from the home and discarded. Wet sections of drywall, damp insulation, and soaked flooring can be repaired, but this is not guaranteed. Working with a local water damage restoration company is advisable because they understand this process and they have the experience to handle problems quickly.
In Conclusion
Preventing water damage is easier if you’re prepared and you can act quickly. But, the best way to avoid or mitigate the risks of these problems is to schedule some essential maintenance for your plumbing system. Early detection of failing pipes and water leaks can prevent some major water damage and expensive repair bills.
If you need plumbing pipe repairs or essential maintenance, contact your local professional plumber today.


