A water stain on the ceiling may not seem like a big deal and it can be ignored, if you don’t look up. But, this problem should be fixed, the stain is a sign of an underlying problem such as leaky pipes, bad flashing and more. Simply painting over a water stain will not work, it will return and these problems tend to get worse over time. In this article, we will look at four simple steps to remove a water stain from your ceiling.
1. Locate the Source of the Water Stain
The ceiling stains can be pale, discolored or uneven patches which are left behind when moisture has dried. What you can see are mineral deposits and if the wet spot is dark, this means that the water damage is ongoing. If you touch the water stain and it isn’t wet, it’s tempting to ignore the problem because the worst is over. But, this is not true, there are many possible water stain sources and the underlying problem must be identified before action can be taken.
Let’s take a look at the most common causes of ceiling water stains:
- Failing upstairs window seals.
- A burst pipe in the ceiling.
- Aging caulk in upstairs bathroom fixtures.
- AC system condensate drain line clogs.
- Roof leaks caused by bad flashing and shingles.
- Old plumbing systems.
- Poor insulation issues.
If you live in an apartment with no upper floor, the source of the problem may be the neighboring unit upstairs. In this case, you should call the landlord to investigate the source of the problem which may lie upstairs.
2. Fix the Problems Quickly
If you have DIY plumbing skills, there may be times when you can fix a bad fitting or replace a rubber gasket that’s gone bad. This may stop an obvious leak, but if you have a water leak that’s hard to find or serious failure you need to call a plumber. If the source of the ceiling stain is a leaky roof, many people don’t have the skills or bravery to climb a ladder and replace bad shingles and flashing. In this case, it’s a better idea to contact a local roofer and they can fix the problem for you.
3. Mold Removal
When you hire a professional plumber or restoration company, they will remove the mold. Repairing structural damage in ceiling tiles and overhead drywall is challenging. Mold growth is common in wet materials and mold remediation services are needed to handle the removal and repairs. Mold spores lower the indoor air quality (IAQ). mold is resilient and it tends to return if it’s not dealt with properly.
4. Painting Over the Water Damage
When the water leak has been identified and the repairs are complete, it’s time to paint over the water stains. You could use a paint roller extension pole or work on a ladder that has secure spreader bars. Anti-slip shoes, goggles and gloves should be worn and the ceiling and baseboard trim should be masked with painter’s tape. To protect the floor, put down a drop cloth and then closely follow our steps to paint the stained ceiling.
Pre-Cleaning: The ceiling stain needs to be cleaned with a solution to fade the stain and kill any residual mold growth. To make the cleaning solution mix a cup of unscented bleach with three cups of warm water. Pour the solution in a clean spray bottle and spray the affected areas. Don’t move on to the next step until the area is completely dry.
Matching the Roller to the Ceiling Texture: Many ceilings have a specific texture that needs to be matched to the roller unless you plan to redecorate the entire ceiling. A smooth ceiling can be painted with a ⅜” nap roller cover with good results. A textured or popcorn ceiling needs a roll with a ¾” to 1¼” nap. If the ceiling is heavily textured you apply a spray on primer first (more on this next).
Stain-Blocking Primer Application: The ceiling stain should be primed with an oil-based high polymer volume primer. This will bind well with the pigments to stop paint bleeding around the water stained area. As an added bonus, the primer will reduce the risk of future mold growth and it needs to dry for two hours or longer before you tackle the next stage.
Painting Over the Water Stain: Oil-based and latex paints cover textured ceiling well if you choose a paint that is formulated for use on ceilings. Apply the paint with the same roller cover that was used to apply the primer and leave it to dry for four hours or longer. If the water stain is still visible apply a second coat and that should be sufficient.
Understanding Water-Stained Ceiling Problems
There are a number of serious problems that are either caused by a water-stained ceiling or it may be evidence that something is seriously wrong. Let’s take a look at some of the potential problems:
- Roof collapse.
- Plumbing and structural problems.
- Electrical and fire hazards caused by wet wiring.
- Moisture buildup in attic insulation.
- Increased attic humidity which compromises the HVAC system performance.
- Ceiling support failures.
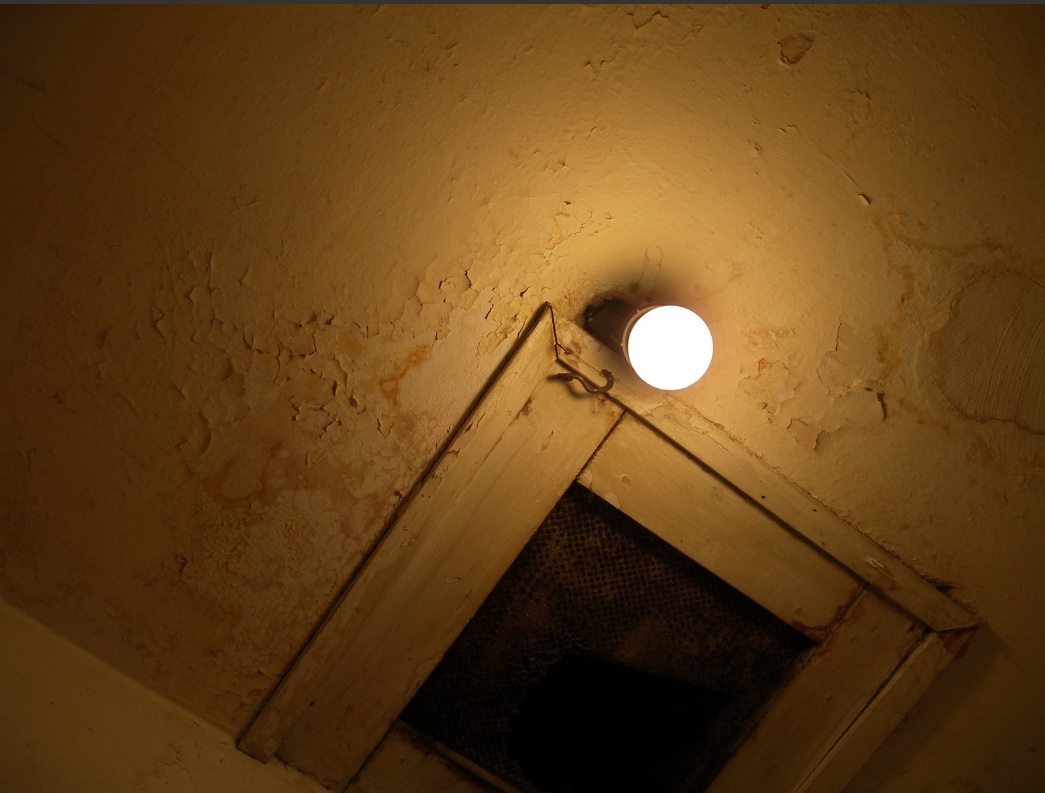
- Water leaking into ceiling light fixtures.
- Corroded overhead plumbing pipes.
As you can see, these are serious problems that can have a dramatic effect on the safety of people living in the home. Ignoring ceiling water stains is a bad idea and when you want to fix the problem it’s important to work with professionals. Hiring a local “handyman” to paint over the stain is simply a waste of money and it will not address the underlying problems. When you choose a professional plumber and restoration specialist, they can ensure that the electrical and plumbing systems are safe to use. The structural integrity issues can be halted and repairs can fix the core problems that are causing the water stains.
If you’re worried about a water-stained ceiling, contact your local professional plumber today.