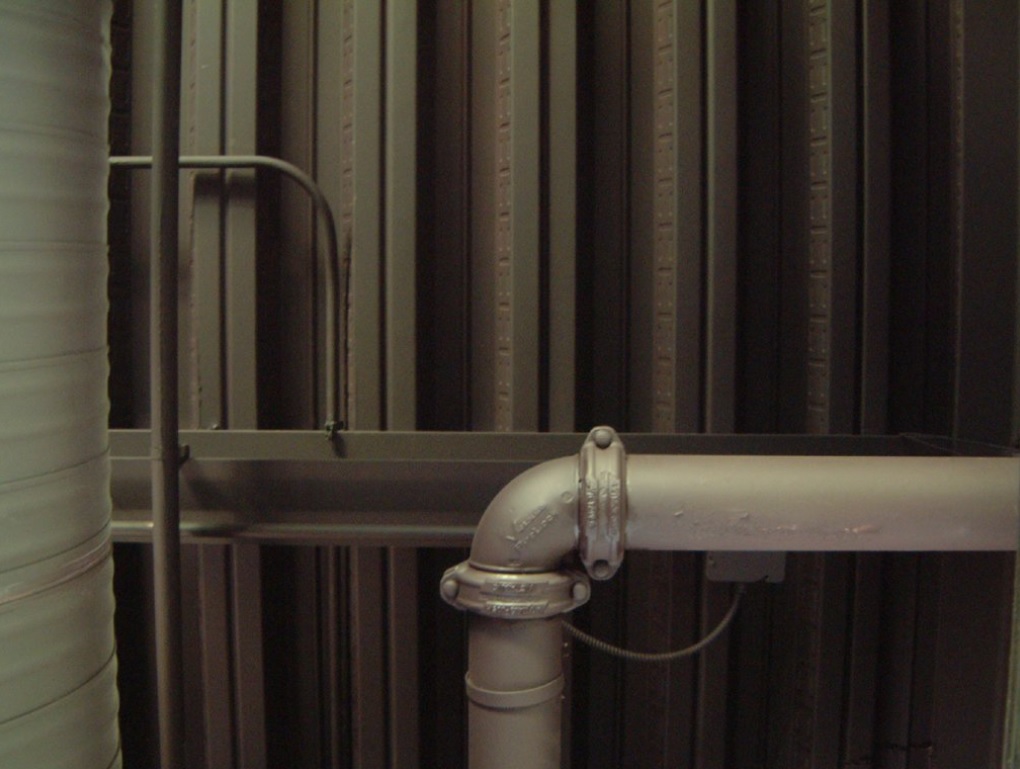
Renovating your home’s plumbing system is a significant investment that can enhance the comfort, functionality, and value of your property. Whether you’re dealing with outdated pipes, frequent leaks, or low water pressure, upgrading your plumbing can address these issues while also improving energy efficiency and water conservation. In this comprehensive guide, we’ll explore the steps involved in renovating your home’s plumbing system, from assessment and planning to implementation and maintenance.
1. Assessment and Planning
Before embarking on a plumbing renovation project, it’s essential to conduct a thorough assessment of your existing system. Identify any issues such as corroded pipes, leaky fixtures, or inadequate water pressure. Determine the scope of the renovation, whether it involves replacing specific components or upgrading the entire system.
Consult with a licensed plumber or plumbing contractor to assess your plumbing needs and develop a comprehensive plan. Consider factors such as the age of your home, the type of pipes installed, local building codes, and your budget. A professional plumber can provide valuable insights and recommend the most suitable solutions for your home.
2. Design and Layout
Once you’ve assessed your plumbing needs, it’s time to design the layout for your new system. Work with your plumber to create a detailed plan that optimizes water flow, minimizes waste, and maximizes efficiency. Consider factors such as fixture placement, pipe sizing, and drainage requirements.
Choose high-quality materials for your plumbing renovation, such as copper, PEX, or PVC pipes, depending on your budget and preferences. Select fixtures and appliances that are energy-efficient and water-saving to reduce utility costs and environmental impact.
3. Demolition and Removal
Before installing new plumbing components, you’ll need to demolish and remove the existing fixtures, pipes, and fittings. This may involve cutting out old pipes, removing outdated fixtures, and clearing out debris. Exercise caution during demolition to avoid damaging surrounding structures or utilities.
Dispose of old plumbing materials responsibly, following local waste disposal regulations. Recycle any salvageable materials to minimize environmental impact and reduce landfill waste.
4. Installation
The installation phase of your plumbing renovation is where the planned design comes to life. It involves the physical implementation of the new plumbing components, including pipes, fixtures, and appliances, according to the approved design plan. Here’s a detailed breakdown of what the installation process entails:
- Preparing the Work Area: Before installation begins, ensure that the work area is clean, clear, and accessible. Remove any obstacles or debris that could impede the installation process. Protect surrounding surfaces and fixtures to prevent damage during installation.
- Pipe Installation: The installation typically starts with laying down the main supply lines and branch lines according to the design specifications. Depending on the material chosen for your pipes (e.g., copper, PEX, PVC), they may be cut to the required lengths and joined together using appropriate fittings and connectors. Care must be taken to ensure proper alignment, support, and slope for drainage pipes to facilitate efficient water flow and prevent clogs.
- Fixture Installation: Once the piping system is in place, fixtures such as sinks, toilets, showers, and bathtubs are installed. Fixtures must be securely anchored to the floor or wall and connected to the appropriate supply and drainage lines. Each fixture requires specific fittings and connections to ensure a watertight seal and proper functionality. Additionally, consider installing water-saving fixtures and faucets to conserve water and reduce utility costs.
- Appliance Connection: If your renovation involves upgrading or adding new appliances such as water heaters, dishwashers, or washing machines, these appliances must be properly connected to the plumbing system. Follow manufacturer instructions and local building codes for safe and efficient installation. Consider installing shut-off valves and pressure regulators to protect appliances and ensure optimal performance.
- Testing and Adjustments: Once all components are installed, it’s essential to test the entire plumbing system to ensure everything is functioning correctly. Conduct pressure tests to check for leaks and assess water flow and drainage performance. Make any necessary adjustments or corrections to address any issues identified during testing.
- Inspections and Approvals: After installation is complete, schedule a final inspection with your local building department or plumbing inspector to verify that the work complies with all relevant codes and regulations. Address any deficiencies or issues identified during the inspection before proceeding to the finishing touches.
- Documentation: Keep detailed records of all plumbing work performed, including permits, invoices, and warranties for materials and labor. This documentation will be valuable for future reference, maintenance, and potential resale of your property.
By following these steps and working with qualified professionals, you can ensure a successful plumbing installation that meets your needs and expectations for comfort, efficiency, and safety.
5. Testing and Inspection
Once the new plumbing system is installed, it’s crucial to test and inspect it thoroughly to identify any issues or defects. Conduct pressure tests to check for leaks, inspect fittings and connections for tightness, and ensure proper drainage and venting.
Schedule a final inspection with your local building department to verify that the plumbing renovation meets all applicable codes and regulations. Address any issues or deficiencies identified during the inspection before proceeding to the next steps.
6. Finishing Touches
With the plumbing renovation complete, it’s time to add the finishing touches to your home. This may involve patching walls, installing trim, and painting or tiling surfaces as needed. Coordinate with other tradespeople involved in the renovation project to ensure a seamless transition between plumbing work and finishing work.
7. Maintenance and Upkeep
Once your new plumbing system is in place, it’s essential to maintain it properly to ensure optimal performance and longevity. Schedule regular inspections and maintenance checks to detect and address any issues promptly. Keep drains clear of debris, fix leaks promptly, and avoid flushing harmful substances down the drain.
Consider investing in a water filtration system to improve water quality and protect your plumbing from sediment buildup and corrosion. Educate yourself and your family members on proper plumbing care and usage to prevent avoidable damage and costly repairs.
8. Considerations for Older Homes
If you’re renovating the plumbing system in an older home, there are additional considerations to keep in mind. Older homes may have outdated plumbing materials such as galvanized steel or cast iron pipes, which are more prone to corrosion and deterioration over time. Consider replacing these old pipes with modern materials like copper or PEX to improve reliability and longevity.
Older homes may also have plumbing systems that are not up to current building codes. Upgrading the plumbing to meet current standards can improve safety and functionality, ensuring that your home is in compliance with regulations. This may involve adding or relocating plumbing fixtures, updating drainage systems, or installing backflow prevention devices.
9. Water Efficiency Upgrades
In addition to improving functionality and reliability, a plumbing renovation presents an opportunity to enhance water efficiency in your home. Consider installing low-flow fixtures such as faucets, showerheads, and toilets to reduce water consumption and lower utility bills. These fixtures are designed to deliver adequate water pressure while using less water, helping you conserve this precious resource.
You can also incorporate water-saving technologies such as tankless water heaters and greywater recycling systems into your plumbing renovation. Tankless water heaters heat water on demand, eliminating the standby energy losses associated with traditional water heaters. Greywater recycling systems capture and treat water from sinks, showers, and washing machines for reuse in irrigation or toilet flushing, reducing reliance on potable water sources.
10. Energy Efficiency Considerations
In addition to water efficiency, consider the energy efficiency of your plumbing system when renovating your home. Insulate hot water pipes to minimize heat loss and improve energy efficiency, reducing the energy required to heat water. Choose energy-efficient appliances such as dishwashers and washing machines that use less water and electricity, further lowering utility costs.
You can also explore renewable energy options such as solar water heating systems, which harness the power of the sun to heat water for domestic use. Solar water heaters can significantly reduce your reliance on fossil fuels and lower your carbon footprint, making them a sustainable choice for environmentally conscious homeowners.
11. Addressing Water Quality Issues
If your home’s water quality is a concern, consider incorporating water treatment systems into your plumbing renovation. Water treatment systems such as reverse osmosis filters, activated carbon filters, and UV disinfection systems can improve the taste, odor, and purity of your drinking water. These systems remove contaminants such as chlorine, sediment, heavy metals, and microorganisms, ensuring that your water is safe and healthy to consume.
Before installing a water treatment system, have your water tested to identify any specific contaminants or issues that need to be addressed. Choose a system that is designed to target the specific contaminants found in your water supply, ensuring effective treatment and optimal water quality.
12. Budgeting and Financing Options
Renovating your home’s plumbing system can be a significant investment, so it’s essential to budget carefully and explore financing options to make the project more affordable. Obtain detailed quotes from multiple plumbing contractors to compare costs and identify the best value for your budget. Factor in additional expenses such as permits, materials, and labor when estimating the total project cost.
Explore financing options such as home improvement loans, lines of credit, or government incentive programs to help fund your plumbing renovation. Some utility companies offer rebates or incentives for installing energy-efficient plumbing fixtures or water-saving technologies, providing financial assistance for eligible homeowners.
Renovating your home’s plumbing system is a significant undertaking that requires careful planning, execution, and maintenance. By assessing your plumbing needs, designing a comprehensive plan, and working with qualified professionals, you can upgrade your plumbing system to enhance comfort, efficiency, and value. Follow these steps to ensure a successful plumbing renovation project that meets your needs and exceeds your expectations.


