When you have water dripping from the faucet spout or handle, it can be annoying. But, this is also very wasteful and you could be losing gallons of water each and every day. Fixing a leaky faucet is possible with no plumbing training if you’re relatively confident with tools and have a DIY ethos. Fixing problems is a great way to develop new skills, learn about your home and save money at the same time. In this article, we will take you through the seven steps to complete a leaky faucet repair.
The Tools You Will Need
Before you begin it’s a good idea to gather all the tools that you will need in one place for easy access. The tools you will need, include a slotted screwdriver, an adjustable spanner (and/or pipe grips), some rags or old towels, and the replacement parts. These parts could be a ceramic disc cartridge, replacement washers, or a new O-ring.
Step 1: Identify the Faucet Type
Before you can begin any leaky faucet repair you will need to know the type. This information will help you determine the problem and how you’re going to fix it. Many kitchen and bathroom sinks have one of the following three faucet types installed. They are:
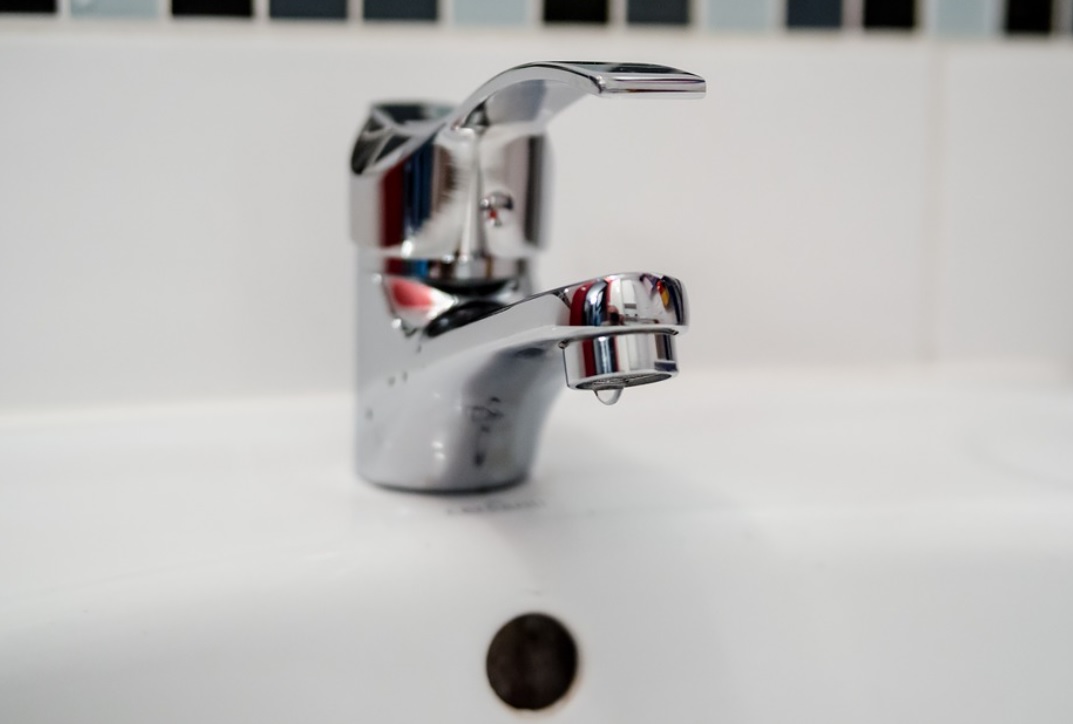
1. The Mixer Faucet
This is a single faucet with a pair of handles marked “Hot” and “Cold” for easy reference. The handles are turned clockwise and relative positions will determine how hot or cold the water is to get the ideal temperature.
2. A Traditional Faucet Pair
This is an older type of faucet, but they are still popular because they look great in a more traditional bathroom or kitchen. There are still two handles for “Hot” and “Cold” water but the water flows from two separate faucets.
3. The Monobloc Faucet
This is a single swivel handle faucet that can turn to one extreme for hot water and vice versa. The user sets the handle at its optimum point and a pull of the lever releases the water from a single faucet.
Step 2: Understanding the Causes
If the faucet handle is leaking, the most likely cause is a worn O-ring and if the leak is at the spout then the washer needs replacing. But, the different faucet types can leak for a variety of reasons and it can be helpful to understand these differences. A traditional faucet water leak is usually caused by a defective O-ring or washer.
In a monobloc faucet, the source of the problem could be a ceramic cartridge that needs to be replaced. It’s also important to understand that high water pressure could be the underlying cause of faucet leaks. When the water pressure is set too high the flow rate will be inefficient and water backups can occur. The water will seek an easy escape route at the faucet and sometimes other plumbing fixtures too. Adjusting the water pressure with a regulator is a job for your local professional plumber.
Step 3: Identify the Water Leak Source
This may seem strange, most water leaks are pretty easy to locate because the water is dripping out of the faucet waterspout. But, if you have water pooling around the base of the faucet the root cause could be the hinges or joints. Take a look under the sink for leaks from the waste pipe or water supply lines.
Now you can start to identify the parts that you may need for your faucet type. The faucet handle action will tell you which valve and mechanism you’re working with. If the handle has a full turn then there is usually a traditional rubber washer inside. If the handle has a quarter rotation then there is probably a ceramic disc that you’ll find in a monobloc or modern faucet. Let’s review the three faucet types and how they work:
1. The Traditional Faucet
This faucet type uses a compression valve and rubber washers to seal the unit.
2. The Modern Faucet
This faucet uses ceramic discs or cartridges.
3. The Monobloc Faucet
In many ways, this is similar to the modern faucet type, but the ceramic discs and cartridges are specifically designed for the single faucet format.
Step 4: Shut-off the Water Supply
Find the stopcock or isolation valves which are usually under the sink unit. There are usually a pair of valves for hot and cold water respectively and both should be turned off. Even if only one faucet is leaking shut-off both to release any excess water pressure. Open the faucet and let the water drain out for a short while to ensure that the system is empty.
Step 5: Disassemble the Faucet
The exact process will vary depending on the exact type and model faucet you have. Block the drain to avoid parts falling in there and look for a screw to remove the faucet. This may be located under the “Hot” and “Cold” caps and you may be able to pop them off with your hands or a slotted screwdriver. On a monobloc faucet, the screw may be hidden under the temperature indicator button but it can be removed in the same way. Remove the faucet head and a cover to locate the brass valve and carefully track each part. This will help you when it comes time to reassemble the faucet later.
After the cap is removed, find the stem screw, remove it, grasp the handle, and carefully pull it free. Use the pliers or a wrench to twist the bottom of the valve counter-clockwise to loosen it from the faucet. Pull up gently to reveal the O-rings and take video or pictures to track your progress carefully if you’re nervous.
Step 6: Replace the Washer or Cartridge
Use the adjustable spanner to remove the traditional faucet brass valve to clean it and if it’s worn replace it with a new one. The O-ring is located under the base of the spout, remove it with a flat-head screwdriver and replace it with a new one. With a monobloc faucet, remove the ceramic disc with the adjustable spanner and fit the new one.
Step 7: Reassemble the Faucet
Reassemble the faucet, turn the water back on and test the system to make sure it works properly. If you have any problems or you don’t want to tackle this job, contact your local professional plumber.