Around 50% of American homes use gas as a source of energy for a wide variety of tasks, including cooking, heating, to heat water, to dry clothes, and more. Gas is pretty safe to use, but if the gas lines are poorly maintained or if an installation is bad, there can be problems. A gas leak can cause a number of health problems, and it can represent a serious house fire risk. Installing, maintaining, and repairing gas lines is not a task for a DIY enthusiast. If you suspect that you have a gas leak, you need to get out of the home and contact your local professional plumber immediately. Here are five gas leak detection signs that you need to recognize.
- A Sulfur “Rotten Egg” Odor
Natural gas has no discernible odor, and this was deemed to be a serious problem when it was under consideration as a domestic fuel source. Gas experts made the decision to add a very noticeable odor to natural gas to make it easier to detect. This is why most natural gas suppliers add mercaptan to their product which gives it that characteristic sulfur or “rotten egg” odor. If you can smell this type of odor, it’s a good idea to contact your local plumber and get them to take a look for you.
2. The Range Top or Stove
A gas range or stove should generate a steady blue flame when you use it for cooking. If you turn on a burner and you can see red or orange flames, there is a problem. When the flame is burning with this type of brighter color, it means that you have gas present in the air, and it’s affecting the oxygen levels.
3. A Hissing or Whistling Noise
A hissing or whistling noise located in the vicinity of your gas line could indicate a gas leak in your home. But, this type of noise can also be caused by a leak in the refrigerant line, a damaged compressor, or a leaky valve in your AC system. If you hear this type of noise, take a moment to check the origin and contact the appropriate professional to get the leak fixed.
4. The Soap and Water Test
You can mix 1 tsp of soap in a cup of water to create a solution to find natural gas leaks. Simply wet the gas line where you think there may be a leak with the solution and check the results. If you notice bubbles on the surface, this is a sure sign that gas is escaping at that point.
5. A Gas Leak Detector
The other methods we have shown above are all effective, but the most efficient way to detect a gas leak is with a dedicated gas leak detector. There are many different models on the market, but they all work in pretty much the same way. If a gas leak is detected, you will hear an audible alarm which gives you peace of mind when sleeping. The only thing to remember about this type of detection unit is that you need to check the battery each month to ensure that it’s still working.
Understanding Natural Gas Leaks
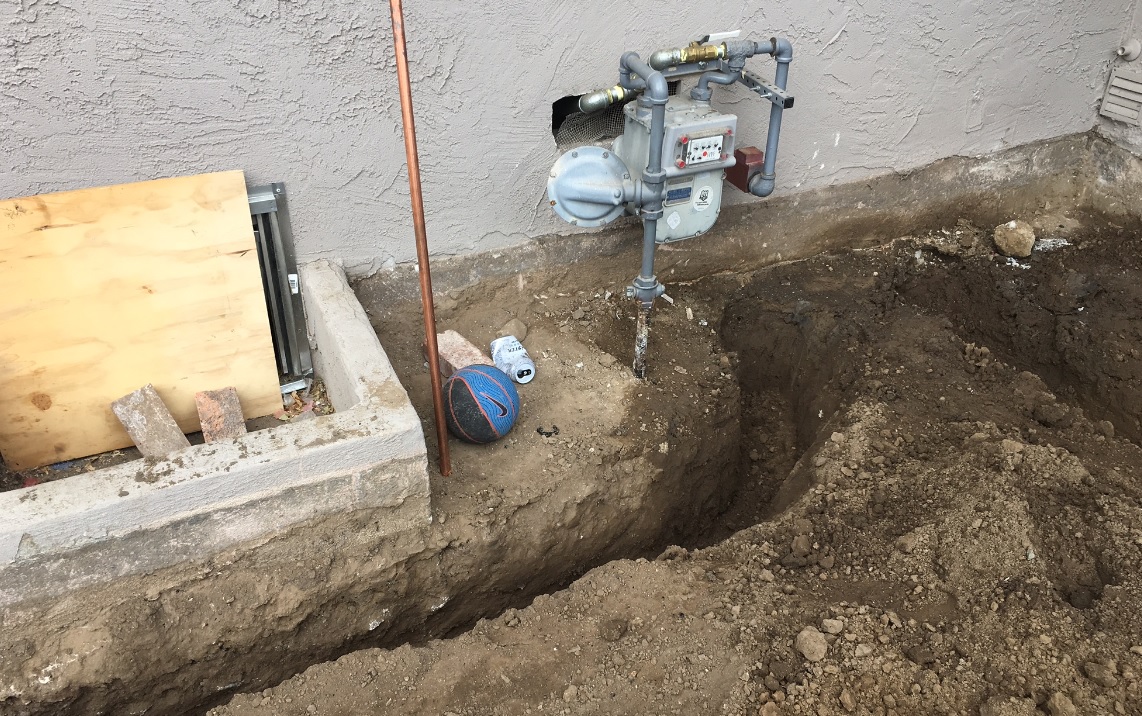
Although natural gas is primarily a fossil fuel, it does contain methane, some non-hydrocarbon gases, and certain natural gas liquids for good measure. Natural gas, as the name suggests, is sourced under the surface of the Earth. Most of the time, natural gas is safe to use, but a leak can occur if an appliance or gas line develops a leak. If you’re supplied with an aging gas line that can be prone to corrosion, there is a higher chance of a gas leak. This is because the outer surface of the pipe will gradually wear away, and tiny hairline fractures will develop.
Are Natural Gas Leaks Dangerous?
The main ingredient that causes problems in natural gas is the added methane. In fact, in isolation, natural gas is non-toxic, but exposure to the final product you receive in your home can cause: dizziness, housefires, explosions, dead plants, property damage, and higher than expected gas bills. In terms of health, the dizziness tends to occur in confined areas after extensive exposure to natural gas.
Preventing Natural Gas Leaks
Adopting a proactive approach to your plumbing needs makes good sense. When you get your heating and cooling equipment maintained regularly, it’s less likely to fail. Check the gas using appliances and get the gas line checked for any signs of warping, damage, corrosion, or breakage. It’s also a good idea to get the gas system inspected by a local professional plumber. They have the knowledge and experience to find faults and fix them quickly.
10 Steps to Fix a Gas Leak
If you do have good DIY skills and you want to attempt a fix yourself, here are 10 steps to fix a gas leak:
- Turn Off the Gas: Protect your home; working with gas is extremely dangerous, and you need to turn the gas off before you can make a safe repair.
- Remove the Covers: Take off the gas line covers, and you will see the gas pipes underneath. Always wear a mask, you don’t want to breathe in the gas, and you may want to wear gloves to protect your hands.
- Detach the Line: Many leaks occur due to a buildup of pressure inside the gas pipe. So, you need to detach the gas line from the regulator.
- Clean the Line and Reduce the Pressure: The gas lines will continue a residue of gas that you need to remove safely. Crack the line fittings on the high pressure line with a wrench.
- Clean the Gas Line: Use some acetone to clean the line, and this will remove the impurities that can cause a later gas leak.
- Re-attach the Gas Line: Attach the gas line loosely to avoid creating new leaks and use rubber tape to seal the leak.
- Check the Angle: The gas line angle must be positioned without disrupting your low-pressure gas line.
- Place the Epoxy: The epoxy has directions on how to use, and in most cases, you will need to leave it to dry overnight.
- Tighten the Fittings: Tighten the fittings on the high-pressure gas line and install your low-pressure line.
- Test the Gas Lines: It’s important to test the gas lines to make sure your repair worked. Turn the gas on, check for leaks with a detector or the soapy water test. If the repair didn’t work, repeat the process, and if it did work, replace the covers.
If you suspect a gas leak in your home, contact your local certified plumber today.


